
How to Use an Incense Burner by Material Type
The right incense burner is selected from the incense format and the heat it creates, not from its decoration. A small stick holder, a cone dish, a charcoal censer, and an electric oud burner may all be called burners, yet they perform very different tasks. Matching the device to the format prevents tipping, ash spill, scorched surfaces, and disappointing aroma.
Start with the incense format, not the burner appearance
Identify what will create the heat. A stick or cone contains material designed to smolder on its own after lighting. It needs support and ash containment. Oud chips, resin, and loose powder are often warmed with a separate heat source, so they need a vessel that can safely manage charcoal or an electric plate. A backflow cone needs a burner with a channel aligned to the cone’s opening.
Next, consider the ash footprint and active time. A short cone drops ash near its base. A stick can cast ash far along a tray. A coil creates a full circular ash line and can burn for much longer. A decorative object that looks suitable for one of these may be unsafe for another. Start with the format, then find the device built for it.
For a broader overview of incense formats and uses, see the agarwood incense guide.
Use stick holders without tipping or ash spill
A stick holder must keep the stick stable at its intended angle and catch the full path of falling ash. A small hole can be appropriate for a bamboo-cored stick only when the base is broad enough and the tray extends past the likely ash fall. A holder should never require you to force a stick into a narrow opening, lean it against a wall, or balance it on the rim of a bowl.
Coreless sticks may need gentler support because the entire body is incense material and can break under pressure. Place the holder on a level, heat-resistant surface and keep direct drafts away. A passing breeze can move ash beyond the tray or cause an ember to burn unevenly. Empty only cooled ash after the session.
Use cone and backflow burners with correct airflow
A standard cone needs a flat heat-safe cup or dish with enough depth to catch ash. The cone should sit level and should not touch a decorative surface that could scorch. Keep space around it so the ember is not crowded by paper, fabric, plants, or the burner lid.
Backflow cones need more than a pretty waterfall-shaped burner. They must have a hollow opening under the cone, and that opening must line up with a clean channel in the burner. Air movement, a blocked path, or an off-center cone can break the downward smoke effect. A standard solid cone is not a replacement for a backflow cone.
| Format | Compatible device | Key condition |
|---|---|---|
| Cored stick | Stable hole and long ash tray | Tray catches full ash path |
| Coreless stick | Gentle matched support | Do not compress the incense body |
| Standard cone | Heat-safe cone cup or dish | Flat base and contained ash |
| Backflow cone | Aligned backflow channel | Use compatible hollow cone |
| Coil | Full-diameter coil holder | Support spiral and capture ash |
Use charcoal burners for chips, resin and powder
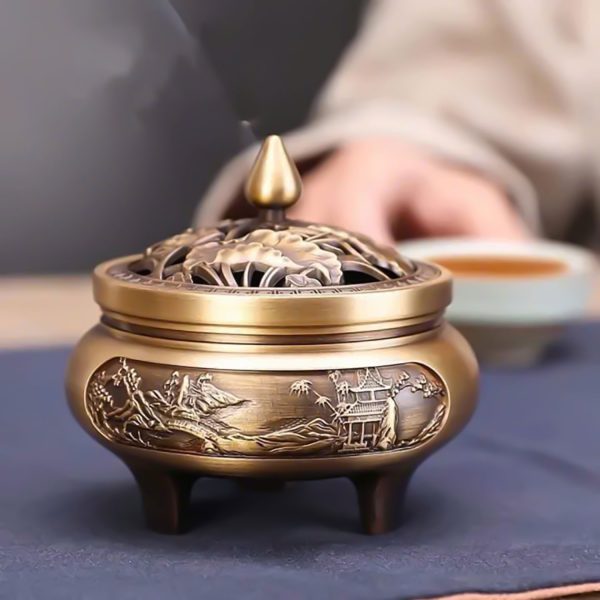
Charcoal burners, also called censers in many traditions, are built to contain a hotter separate heat source. They usually use a heat-safe body with an ash or sand bed that stabilizes charcoal. The aromatic material is placed on or above the coal in a small measured amount. This setup is not interchangeable with a stick tray or a small wooden holder.
Light charcoal according to its maker instructions, allow it to establish safely, and move it only with suitable tongs. Use a heat separator if the material needs gentler warming and the burner design permits it. Keep the censer on a heat-resistant surface and remain present until the charcoal is fully out and cool. Charcoal stays hot long after the visible fragrance seems finished.
Use electric burners with temperature control
An electric burner warms oud chips and other compatible material with a controlled heating plate or cup. Start at a low setting with a small chip and allow several minutes for aroma to develop. The displayed temperature may not be the exact temperature of the sample, so make changes gradually. If the chip blackens quickly or smells sharp, reduce heat or use less material.
Choose a device with a stable base, accessible controls, a cleanable cup or plate, and a cord that does not cross water or a walkway. Switch it off when the session ends and let it cool before moving or cleaning it. For a detailed buyer and first-use test, read how to select and control an electric oud burner.
Match ceramic, metal and wood to safe heat levels
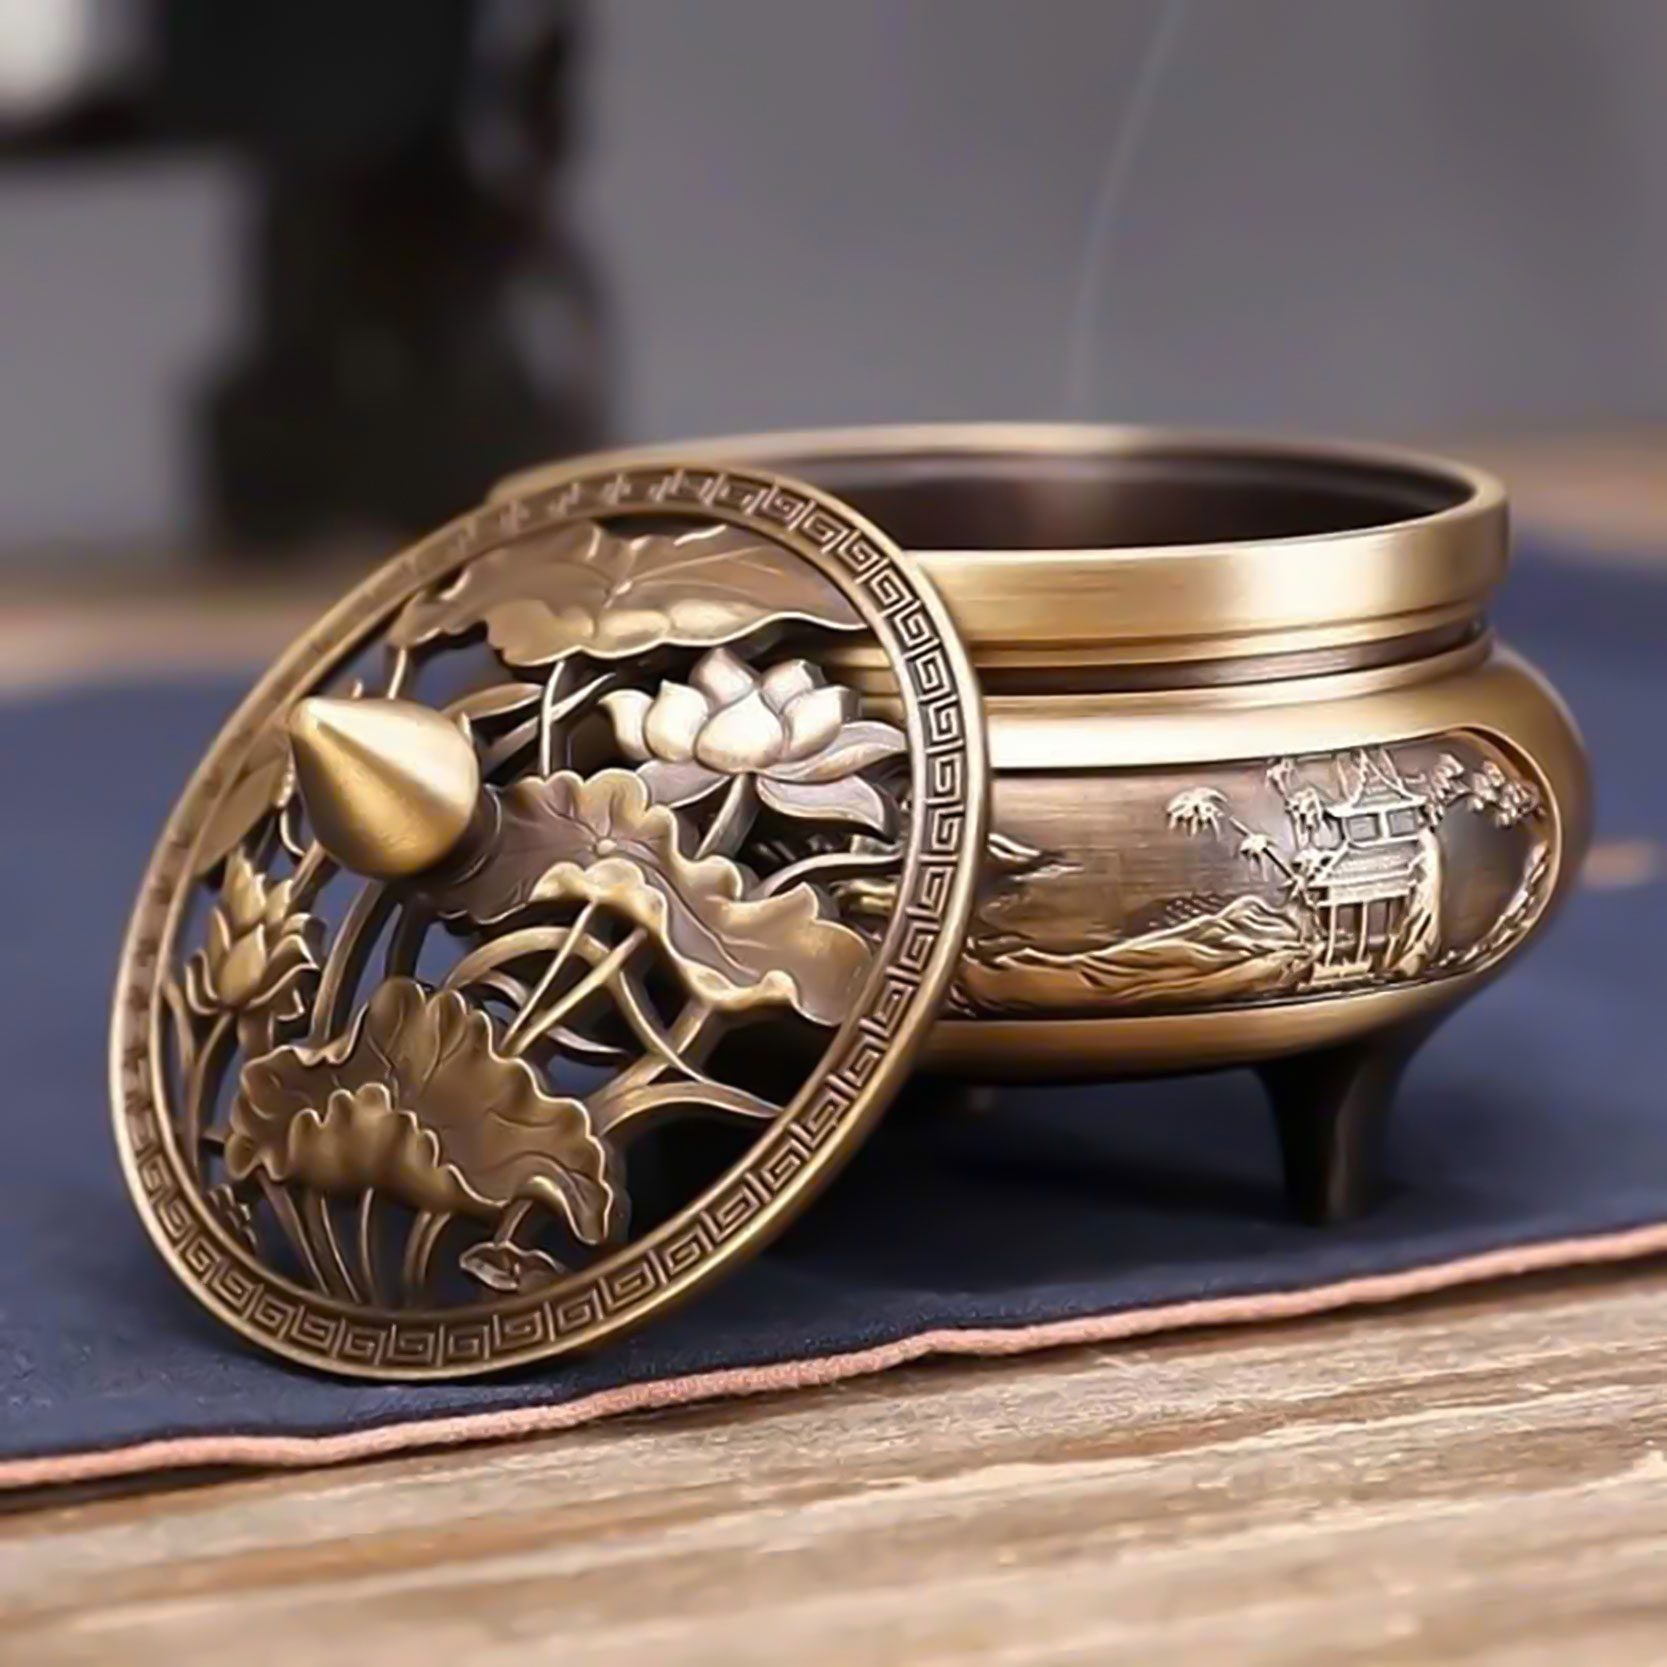
Ceramic can be a good material for sticks, cones, and some censers because it can tolerate heat and is easy to wipe, but it can crack from sudden temperature changes. Metal can be durable but may become very hot; use it on a protected surface and wait for it to cool. Wood can work as a stick holder only when the design keeps the ember and ash safely clear of the wood. It is not a charcoal bowl.
Stone is often stable and heat-resistant, but a flat stone without ash containment is not automatically a burner. The correct material is only part of the decision. Check base width, tray depth, support shape, heat path, and the maker’s intended use. If a device does not state that it supports charcoal or electric heat, do not assume it does.
A quick format-to-burner decision guide
For a stick, choose stable support plus a long ash tray. For a cone, choose a flat heat-safe dish. For a backflow cone, choose an aligned waterfall burner. For a coil, use a dedicated holder that supports the full spiral. For chips, resin, or powder with charcoal, use a censer made for that heat source. For gradual heating without a live coal, choose an electric burner with low-to-high control.
If you are selecting equipment rather than troubleshooting an active session, the incense holder compatibility guide helps compare supports, ash coverage, and common mismatches. Use more than one device when formats differ; forcing every format into a single decorative holder causes most preventable problems.
Clean only when completely cool
Remove ash and wipe residue only after the device and material have cooled. Clear channels and trays help the next session burn as intended, while a clean censer makes it easier to spot a new chip or resin portion before it overheats.
Stop and reset if the setup changes
Extinguish incense if the device shifts, ash leaves the tray, a coil no longer sits level, or a draft moves an ember. Let everything cool, then correct the device or location. A stable setup is always more valuable than finishing a piece of incense.
Test the device with the actual format before using heat
Put an unlit stick, cone, or coil in the burner and look at the setup from the side. The material should sit securely without being forced, and the ash-catching area should extend beyond the likely fall line. For a censer, confirm that the charcoal bed has room and that tongs can reach the coal safely. For an electric unit, make sure the sample cup is clean, dry, and stable before switching power on.
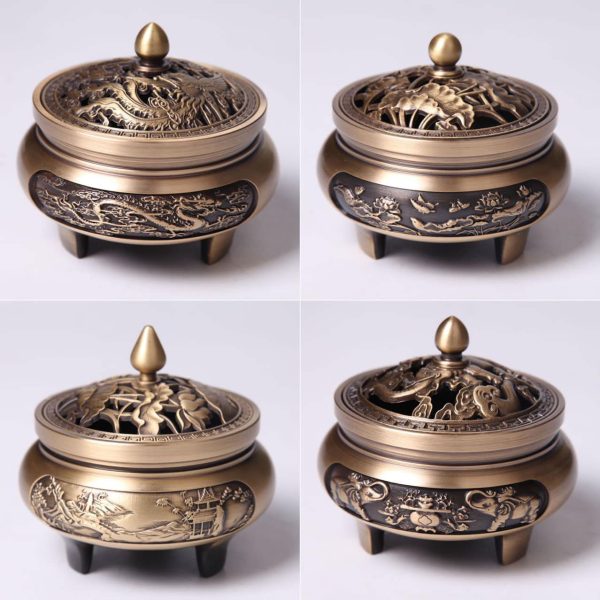
This simple dry fit test is especially useful with decorative burners, because photographs can hide shallow trays, narrow openings, and unstable bases. If the format only fits by bending it, balancing it, or placing it too close to a rim, choose a different device.
Plan the room around the heat source
Even a compatible burner needs a sensible location. Put it where the surface is level, the cord or tray cannot be bumped, and a door, fan, or open window will not send ash across the room. Keep normal household activities away from an active ember or hot device. The less you need to reach across or move the burner during use, the easier it is to supervise safely.
Understand the limit of a holder
A good burner controls placement and ash; it does not make it safe to leave burning incense alone. Set a session length that fits the time you can stay nearby, and extinguish or switch off the heat source before leaving the room. This remains true whether the burner is ceramic, metal, wood, or electric.
When uncertain, use the lower-heat, smaller-portion method and review the maker instructions before continuing.
Patience prevents avoidable accidents and wasted material.
