
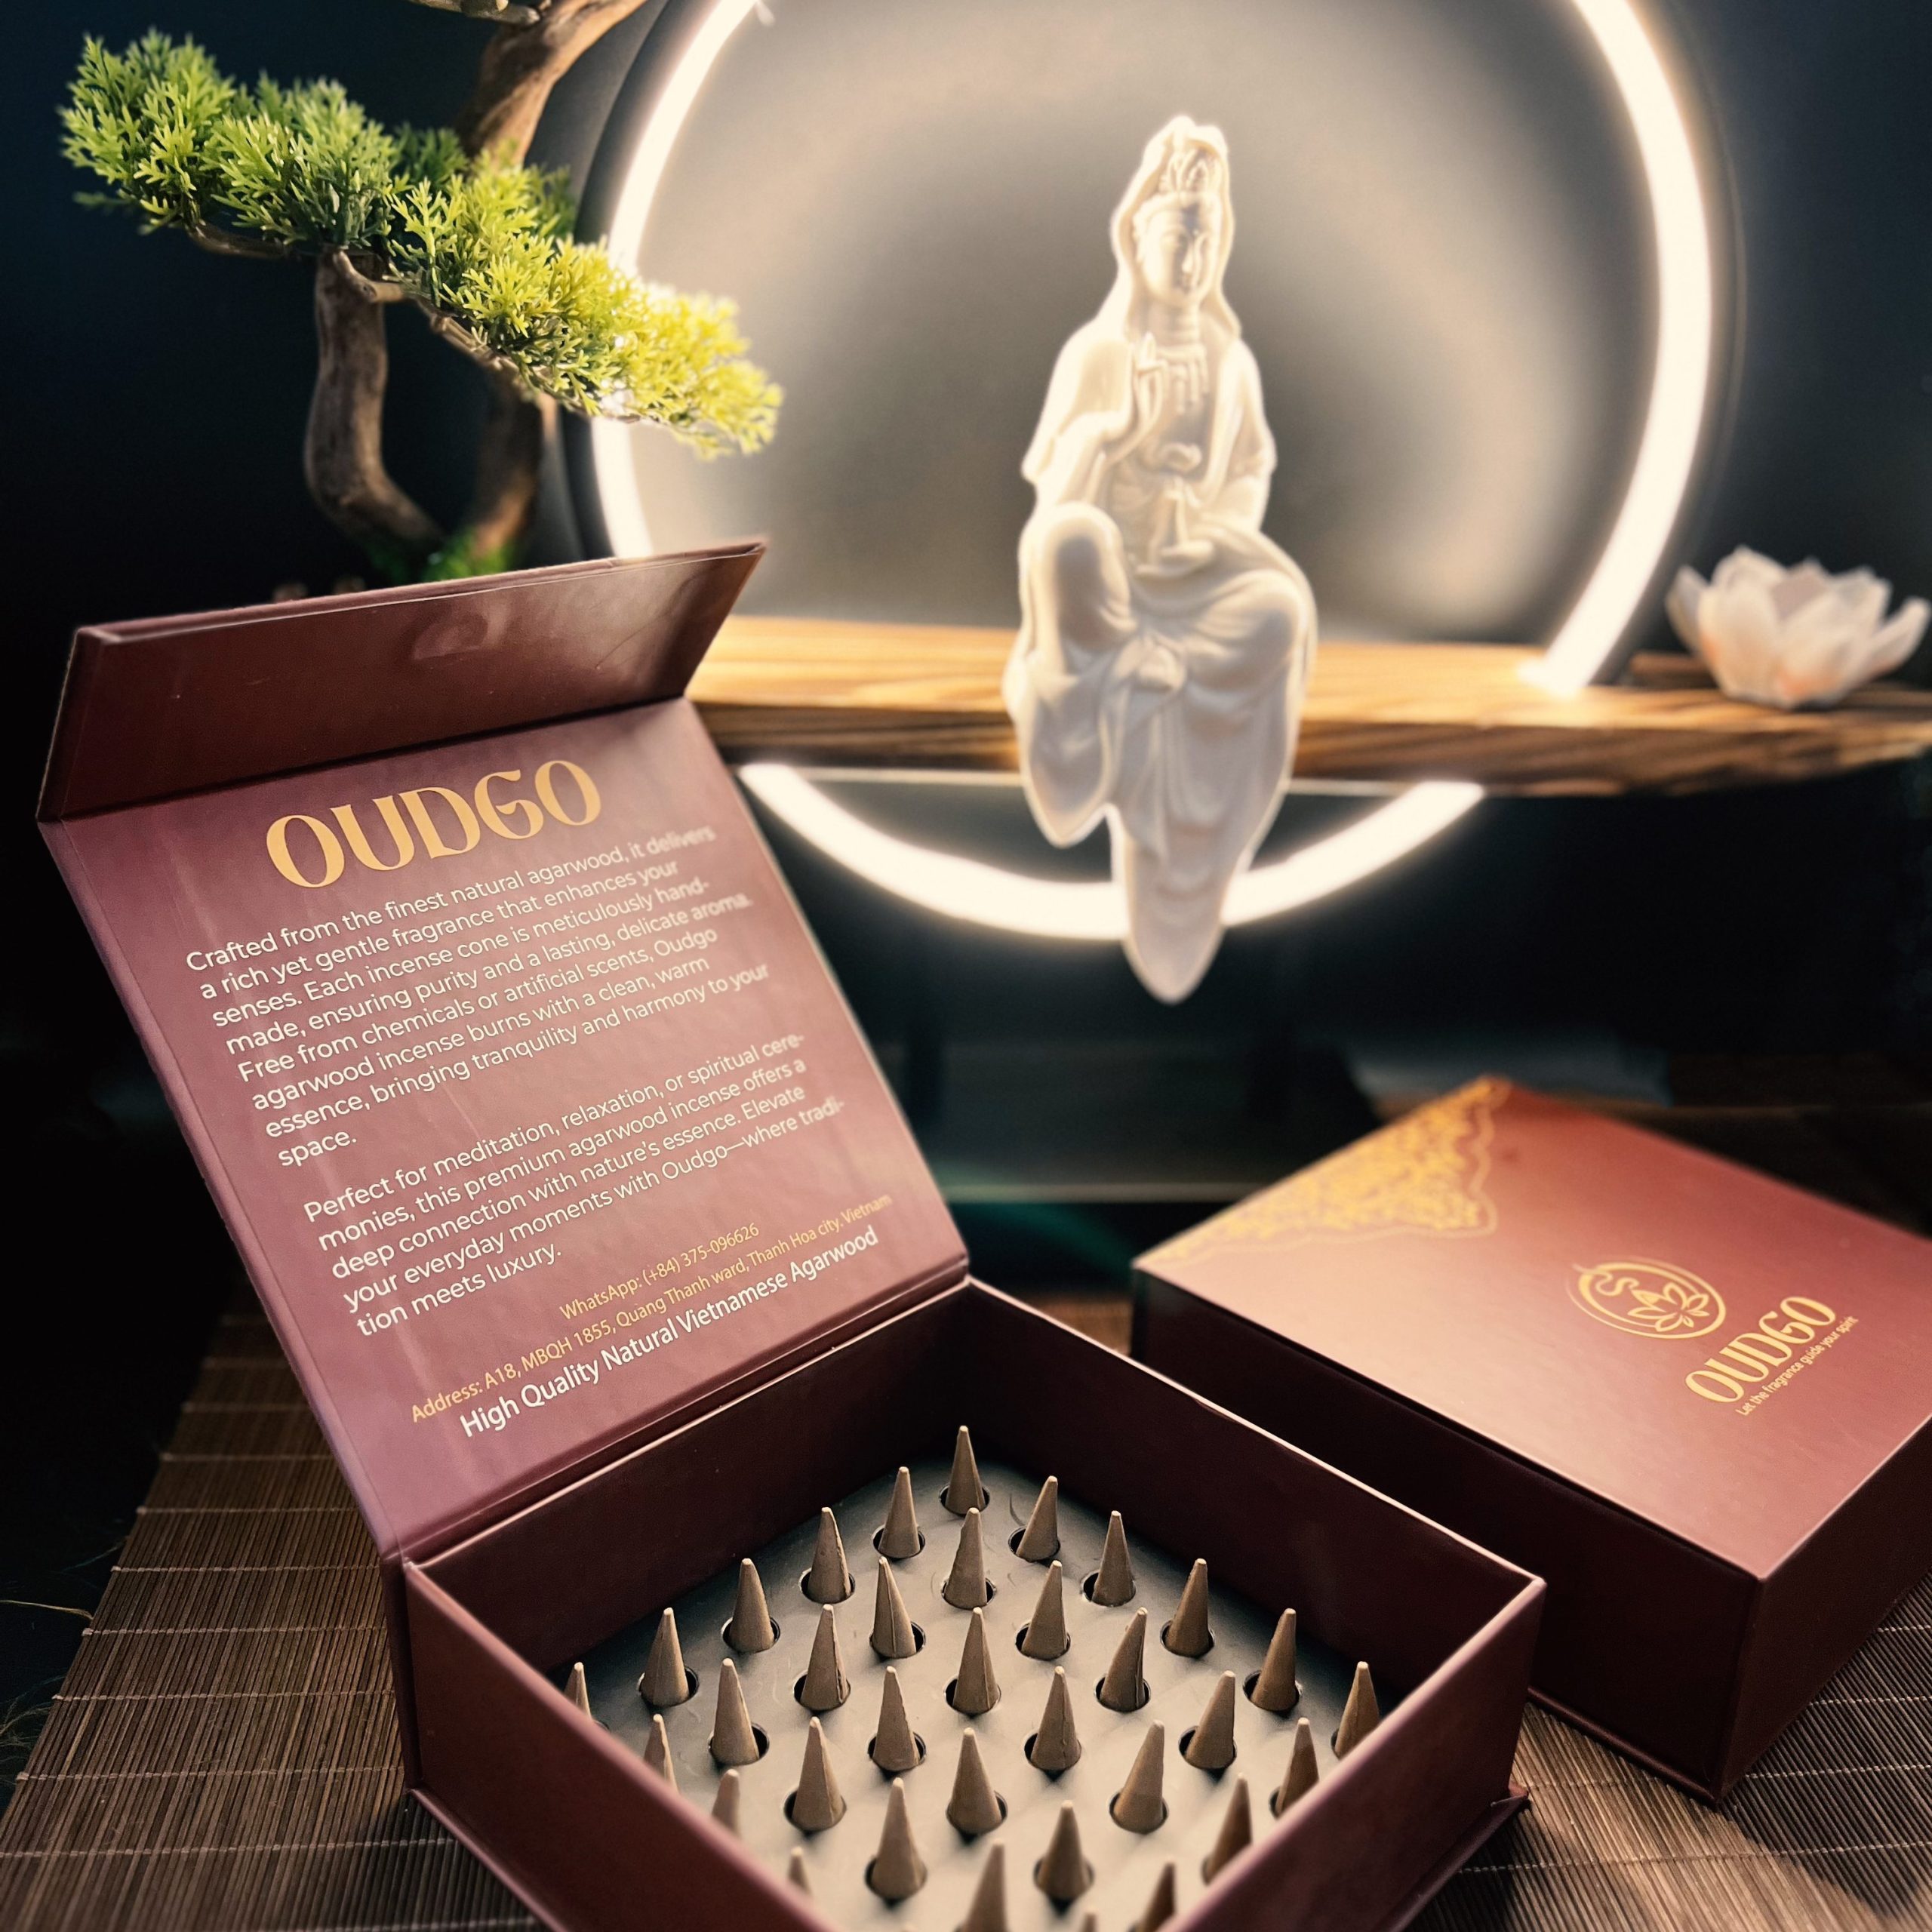
How to Use Incense Cones: Light, Burn and Extinguish
Incense cones are simple to use when the cone, holder, airflow, and session length fit together. A cone creates a small active ember and a concentrated ash footprint, so it needs a stable heat-safe base and clear space around it. The correct goal is a controlled, supervised burn – not the largest amount of smoke or the longest possible session.
Choose a cone and heat-safe base that fit each other
Use a standard cone with a flat, heat-safe cone dish or holder that has enough depth to catch ash. The cone should sit level and should not wobble, lean on a rim, or touch a decorative surface that could heat up. Place the holder on a stable, non-combustible surface away from curtains, paper, plants, pets, and children.
Backflow cones are different. They have a hollow opening at the base and must align with a burner channel to create downward-flowing smoke. A normal solid cone will not make a waterfall effect merely because it is placed on a backflow burner. If you want that style, use the dedicated explanation in how backflow incense works and how to set it up.
Do not place a cone directly on furniture, a candle plate not meant for incense, or a wooden tray without a heat-safe insert. A holder is part of the safety system because it contains ash and keeps the ember where you expect it.
How to light an incense cone and establish the ember
Hold a flame to the pointed tip until a small flame catches. Let the flame establish briefly, then gently blow it out so that only a glowing ember remains. The cone should begin to release smoke gradually. Do not keep several points lit or add repeated flames to make it burn faster; that makes the burn less predictable and can create more ash or harsher smoke.
If the cone goes out immediately, let it cool and inspect it before trying again. It may be damp, cracked, poorly supported, or exposed to moving air. A cone that has been crushed or softened by moisture is not a good candidate for repeated relighting.
| Step | What to do | What to avoid |
|---|---|---|
| Place | Set cone flat in a heat-safe holder | Balancing on a rim or furniture |
| Light | Ignite the tip, then leave one ember | Lighting several sides |
| Observe | Confirm ash stays in the holder | Leaving while the ember is active |
| Finish | Let it cool before cleaning | Handling ash while warm |
Where to place the cone for airflow and ash control
Choose a level location with gentle ventilation. Fresh air can make a room more comfortable, but a direct stream from a fan, air conditioner, or open window can move smoke and ash or make the ember burn unevenly. Keep the cone holder clear above and around it; do not place a lid, decoration, or object close to the glowing tip.
Look at the ash path before you light the cone. Some cones create a compact ash column, while others collapse to one side as they burn. A deep tray gives that ash a place to land. If ash starts leaving the holder, extinguish the cone, allow it to cool, and move to a more suitable device or location.

How long cones normally burn and why timing varies
Small cones commonly burn for around 15 to 30 minutes, while larger or denser cones may last longer. These are planning ranges, not guarantees. Diameter, density, binder, fragrance composition, moisture, room airflow, and even the holder can change how quickly the ember moves.
Use the duration to decide whether a cone fits the time you can supervise. A short cone can be a good choice for a brief session; it is not a reason to start one just before leaving the room. If the room becomes too fragrant or smoky for comfort, stop the session rather than waiting for the entire cone to finish.
How to put out a cone before it finishes
If you need to end the session, do not carry a burning cone around the room. Use a purpose-built snuffer, place a non-combustible cover over the holder if the design permits, or gently restrict the ember with clean sand in a suitable censer. Avoid blowing ash into the air or pouring water onto a hot ceramic holder, which can scatter residue or crack the material.
After the ember appears out, leave the cone and holder untouched until completely cool. Ash can retain heat longer than expected. Do not place a partially burned cone back into a package or close it in a container while it is warm. For a broader home safety checklist, see incense, smoke alarms, and fire safety.
Troubleshoot weak smoke, harsh smoke and repeated extinguishing
Weak smoke or a cone that repeatedly goes out can be caused by dampness, damage, a blocked or unsuitable holder, or direct airflow. Store cones dry, use an intact cone, and make sure the holder is level. Do not try to repair a cracked cone with tape, glue, or extra fuel.
Harsh smoke can come from too much heat, too little ventilation, a large cone in a small room, or material that has scorched. Use one cone at a time, keep fresh air available without a direct draft, and choose a smaller format if the room becomes uncomfortable. A strong smoke cloud is not a quality test.
Clean-up steps after the cone cools
Wait until the cone remnant, ash, and holder are cool to the touch. Empty cooled ash into a suitable non-combustible waste container. Wipe the holder with a soft cloth appropriate for its material, and clear any residue from a backflow channel before the next session. Do not scrape a delicate glaze or pour cold water onto a hot burner.
Store unused cones in a dry, protected container so they do not absorb moisture or become chipped. A clean holder and an intact cone make the next burn easier to assess and safer to supervise.
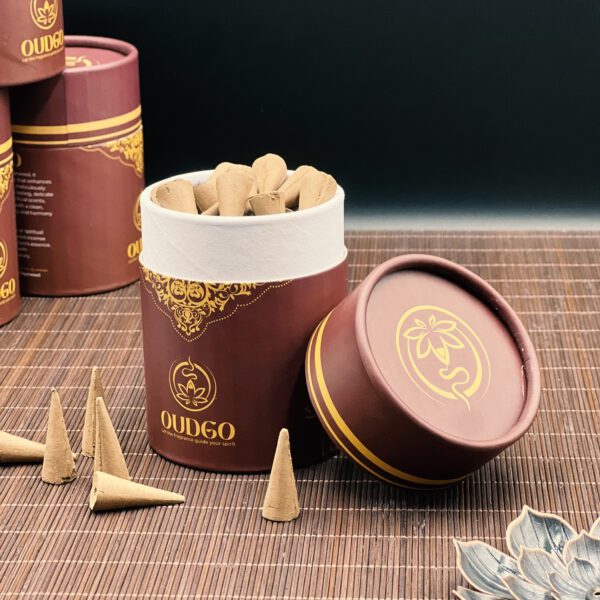
Use less when you are new to a fragrance
Try one small cone in a ventilated room before committing to longer use. This helps you learn how the material behaves and whether the scent strength suits the space.
Keep the session in view
A correct holder and cone reduce risk, but they do not replace supervision. Choose the format and timing that let you remain present from lighting to cooling.
Choose a cone format with clear information
Cones vary in material, size, and fragrance strength. A product description that explains the format and intended use helps you match it to a suitable holder and room. For a useful overview of agarwood incense forms, see the agarwood incense guide. Clear information does not remove the need for supervision, but it makes the first session easier to plan.
Keep all equipment dry and ready
Store the holder and cones dry, and keep a safe way to extinguish nearby before lighting. This avoids reaching across a hot tray or improvising when the session must end early.
A quiet, well-planned cone session depends on simple habits: a compatible base, a single stable ember, gentle ventilation, and enough time to remain nearby.
